Burr Alignment
In this article, we will explore several aspects of burr alignment, including its importance, how to evaluate it, and how to use a marker test to assess alignment. Much of the content is adapted from the article Hyper-Aligning the Lagom P100 with Ultra-Thin Stainless Steel Shims. For a more detailed guide on shimming, please refer to the original source.
The Importance of Alignment
With flat burrs, coffee beans fall through the center hole, are propelled outward by inertia while being ground, and exit as grounds once their size is smaller than the gap between the burrs.
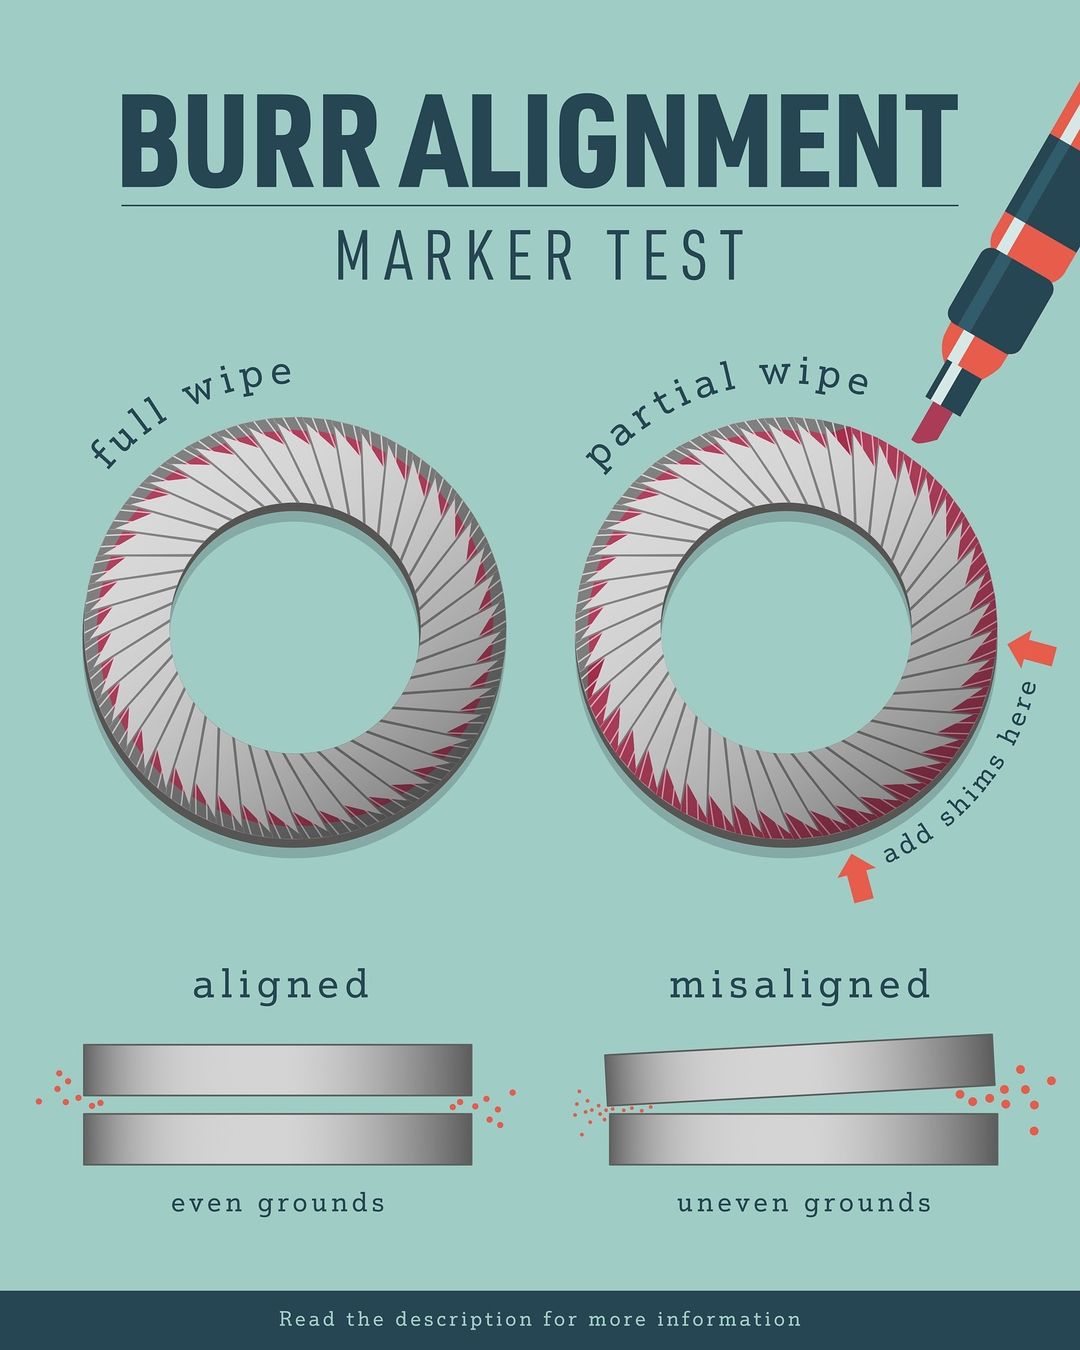
Thus, the parallelism between the burrs is critical. Misaligned burrs result in inconsistent gaps, leading to uneven particle sizes and reduced grind uniformity, as illustrated below.

source: aramsecoffee
In the bottom right image, the burrs are not parallel: the gap on the right is larger, resulting in larger coffee particles on that side. This leads to non-uniform grinding.
Chirp-to-Lock Distance
A common indicator of burr alignment is the chirp-to-lock distance, which is the distance between the chirp point and the lock point of the burrs.
Chirp Point
The chirp point is usually where the zero point is set on most grinders. With the grinder running, slowly adjust finer until the burrs touch and make a sharp sound (chirping). The setting at this point is the chirp point.
The burrs are very hard, so this process won’t damage them, but be careful not to adjust any finer to avoid damaging the motor.
Lock Point
After finding the chirp point, turn off the grinder (be sure to turn it off!). You can still adjust finer, and the distance you can adjust until it completely locks up is the chirp-to-lock distance. The setting where it completely locks up is the lock point.
For example, before alignment, the setting on my P100 was -0.8 when the adjustment dial could no longer be turned finer, meaning the lock point was -0.8. The chirp point was 0, so the chirp-to-lock distance was 0.8. On the P100, 1 mark represents a burr gap of 75 µm, so the chirp-to-lock distance was about 60 µm.
Essentially, when the burr size and geometry are the same (e.g., both are 98mm SSP Brew burrs), a smaller chirp-to-lock distance indicates better burr alignment, as it means the burrs don’t touch even when very close together, indicating better parallelism.
How to Perform the Marker Test and Use Shims for Alignment
A common method for checking burr alignment is the marker test, which, as the name suggests, uses a marker to check alignment.
First, let’s clarify one thing. Although we keep mentioning the concept of parallelism, the two burrs need to be not only parallel to each other but also perpendicular to the rotation axis. This is because only one of the two burrs is fixed in position, while the other rotates. So if the burrs are not perpendicular to the rotation axis, even if they are parallel at a certain relative angle, they will still be non-parallel once the burrs start rotating.
Therefore, the marker test is not just about checking if the burrs are parallel but also about checking if the burrs are perpendicular to the rotation axis. The method is simple: apply marker ink to the flat edge of one burr, reinstall it, and locate the chirp point. After finding the chirp point and allowing the burrs to rub slightly, remove the burr. If the marker is wiped off all around the circumference, which we call a “full wipe”, it indicates the burr is perpendicular to the rotation axis. Conversely, if the marker is only wiped off in one spot, that spot is the first point of contact when adjusting finer, indicating the highest point of the burr.
To shim the lower side of the burr, place shims under the screw opposite the high point. Repeat this process until a full wipe is achieved, then align the other burr using the same method to ensure parallelism.
For example:

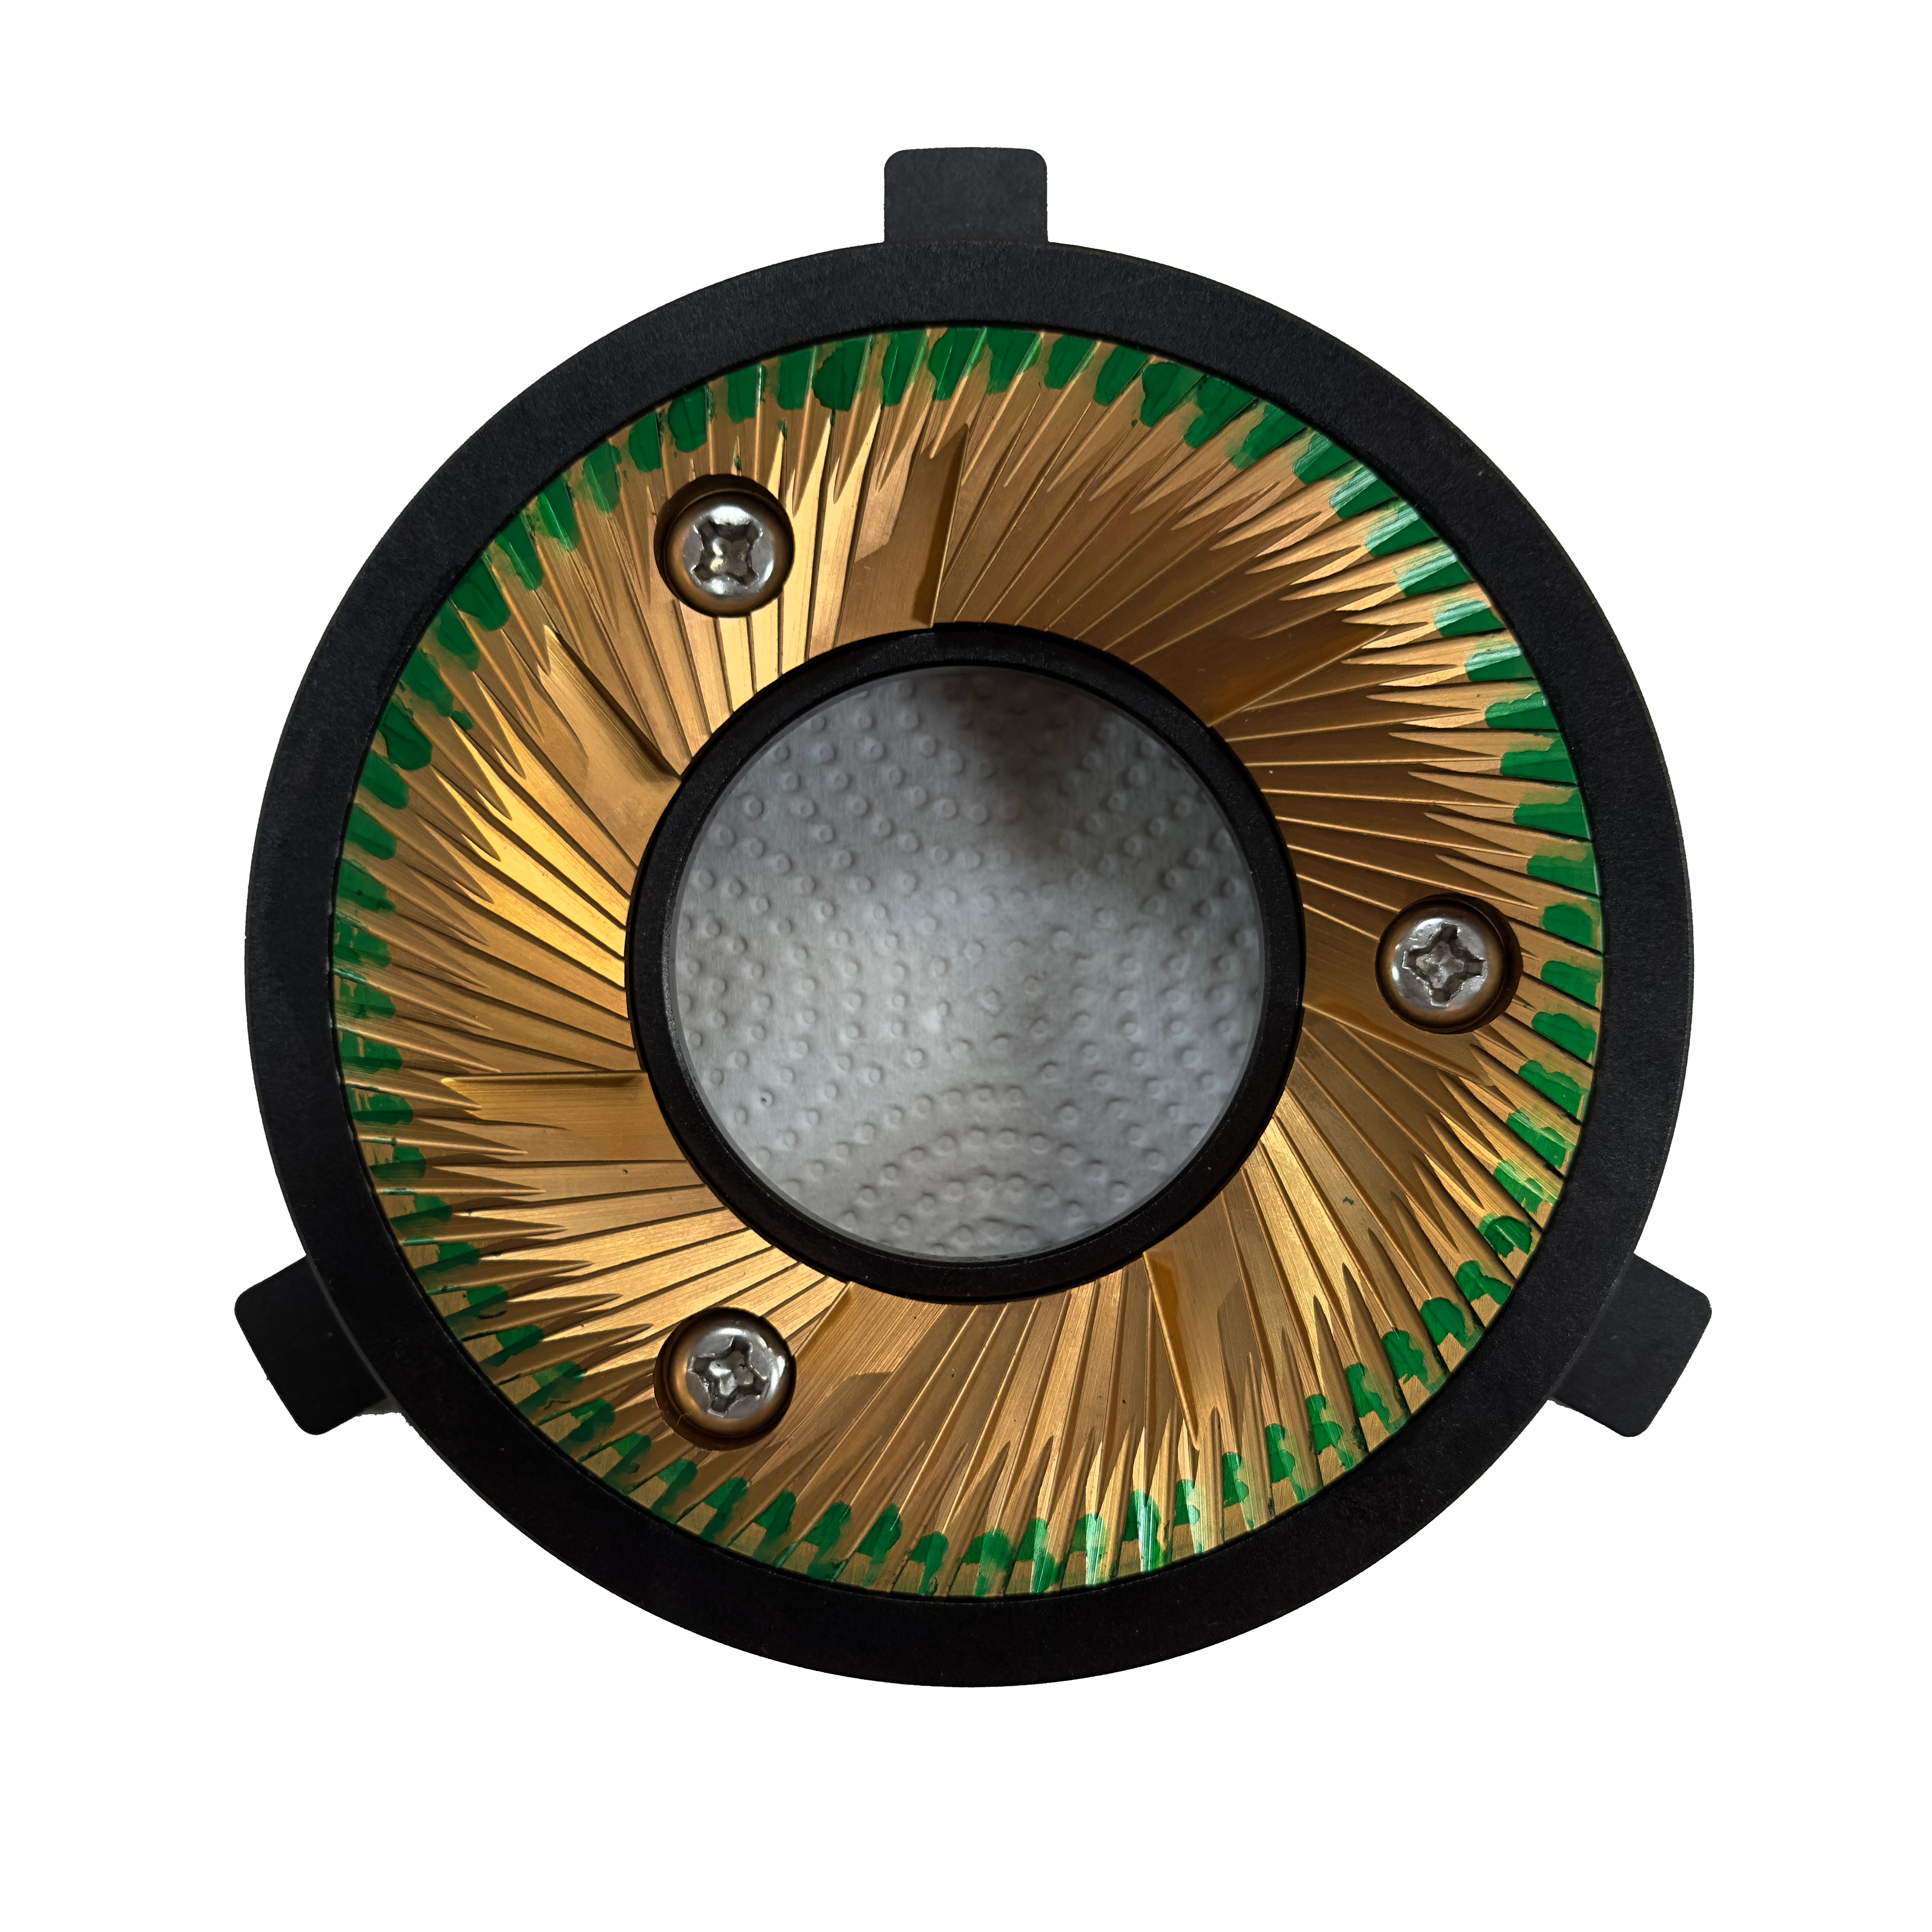
Burr right after the marker test
Upon closer inspection, the marker has been wiped off from about 3 o’clock to 9 o’clock, so the high point is at 6 o’clock. This means we need to add shims at the 12 o’clock position. Since there is no screw exactly at 12 o’clock, we usually start with the screw closest to 12 o’clock (i.e., the top left screw).
It’s important to note that shims can only be placed under the screws (usually one shim of equal thickness on each side of the screw), because placing shims between screws may cause the burr to bend as the screws on both sides will apply downward force on the burr, and the shims in the middle will form a fulcrum.
The logic behind this method is quite simple: keep adding shims to the lower areas until the burr is aligned. However, if you think about it carefully, you’ll realize that this is a very time-consuming and laborious task, as it requires countless disassemblies and reassemblies of the grinder.
For a clearer explanation, it’s highly recommended to watch this classic tutorial video.
An Example of How Shimming Improves the Result of the Marker Test
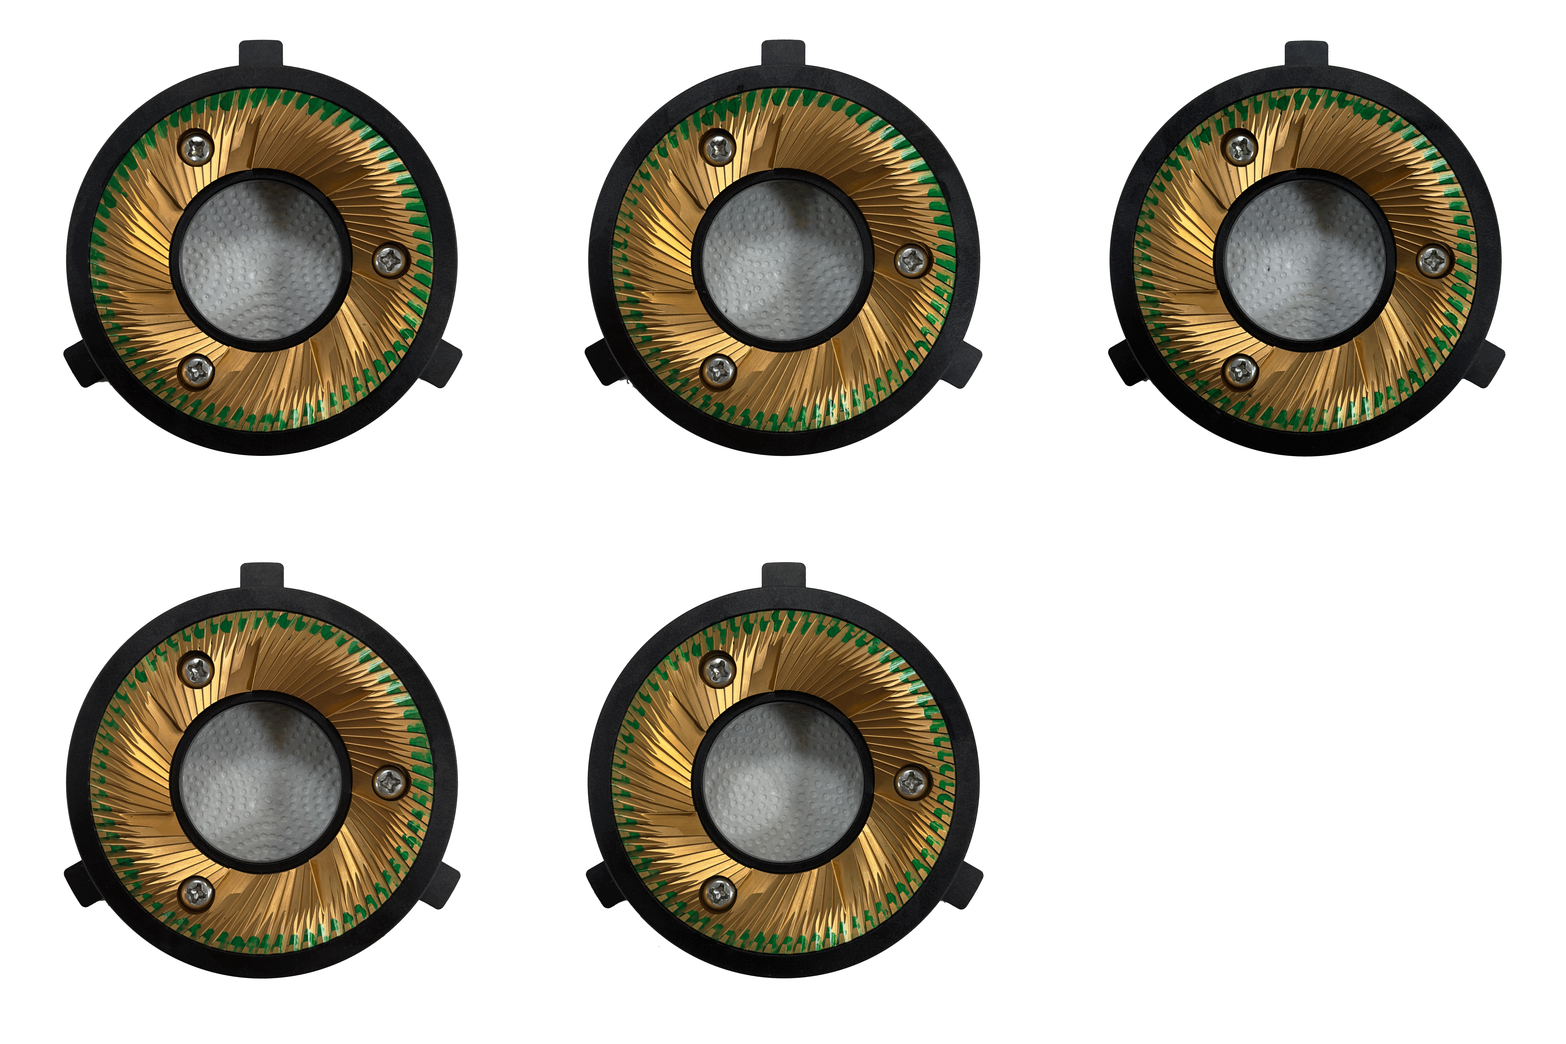
Below is a gif of the marker test result of the entire shimming process; you can see that we approach a “full wipe” slowly but surely.

The Impact of Alignment and Its Necessity
Some believe that burr alignment results in a more uniform particle size distribution and an improved coffee taste, though this is generally considered difficult to prove. However, after aligning the burrs, it is common to notice that the puck can withstand higher pressure at the same grind setting when making espresso, which suggests the presence of fewer large particles.
As noted in the alignment tutorial video, the true benefit of alignment may lie in providing peace of mind to coffee enthusiasts, knowing their grinder is as precisely aligned as possible.